
 Materials:
Type 23 Insulating fire brick. K-23, 23HS, same thing it’ll work. Not “fire brick” crap you get at hardware stores that doesn’t insulate. Find a local furnace supply company and buy them by the box. The price on amazon is insane don’t buy it there. You can also find it on ebay reasonably priced.

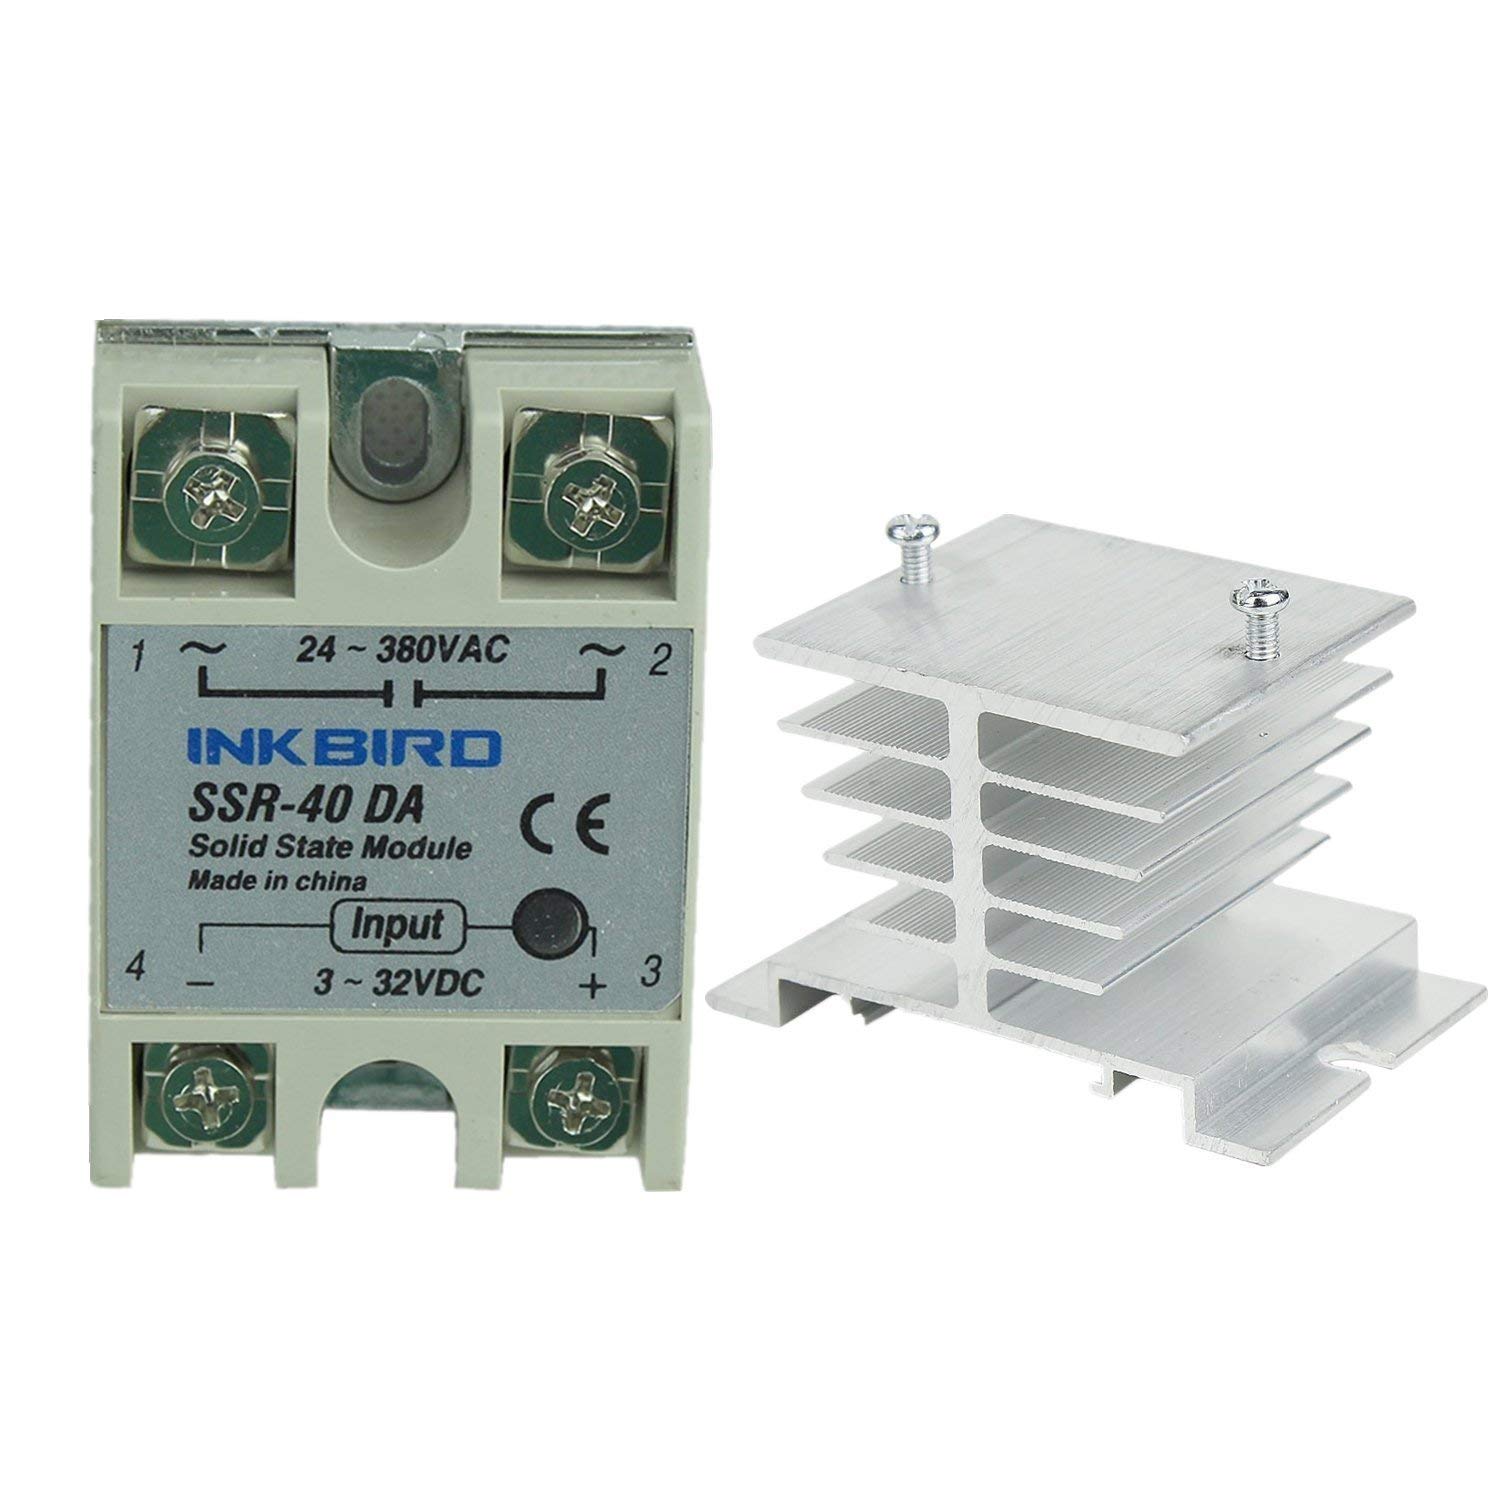
2x 40 amp 24-380V solid state relays. https://www.amazon.com/gp/product/B01M5EDKU6/ref=oh_aui_search_asin_title?ie=UTF8&psc=1
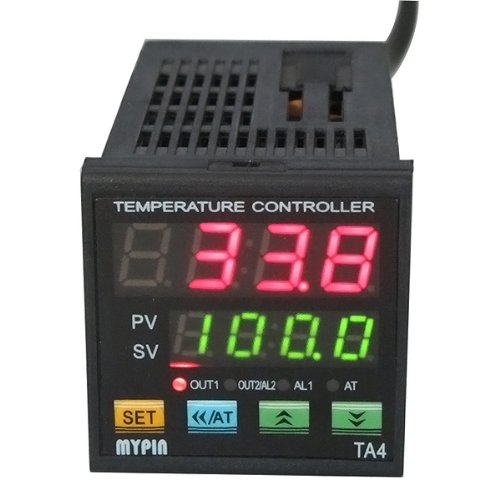
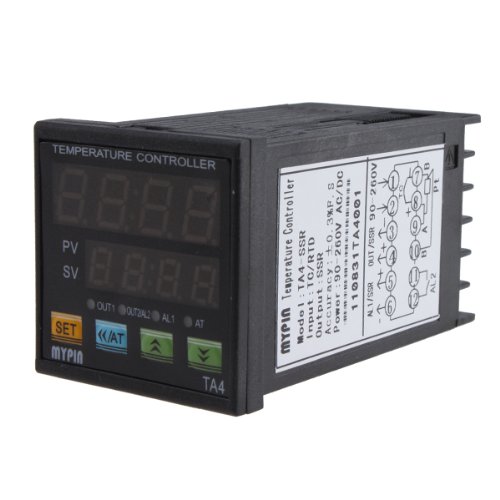
PID Controller (K-type thermometer compatible) https://www.amazon.com/gp/product/B00BVWYHC8/ref=oh_aui_search_asin_title?ie=UTF8&psc=1
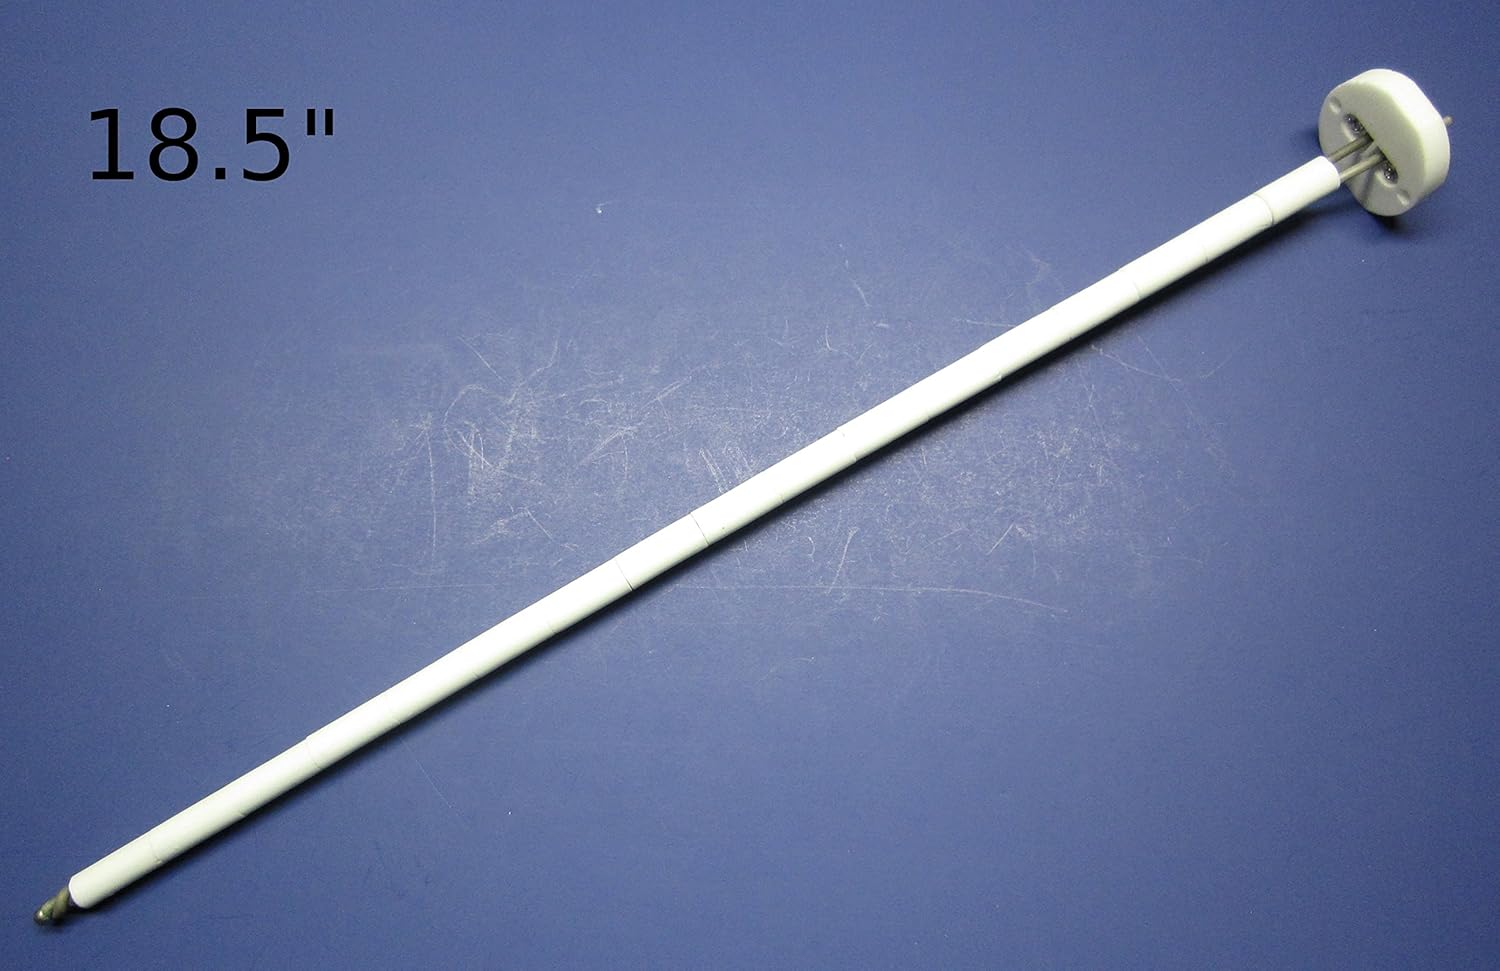
K-type high temp thermal sensor. https://www.amazon.com/gp/product/B076YYTH5X/ref=ppx_yo_dt_b_asin_title_o04_s00?ie=UTF8&psc=1
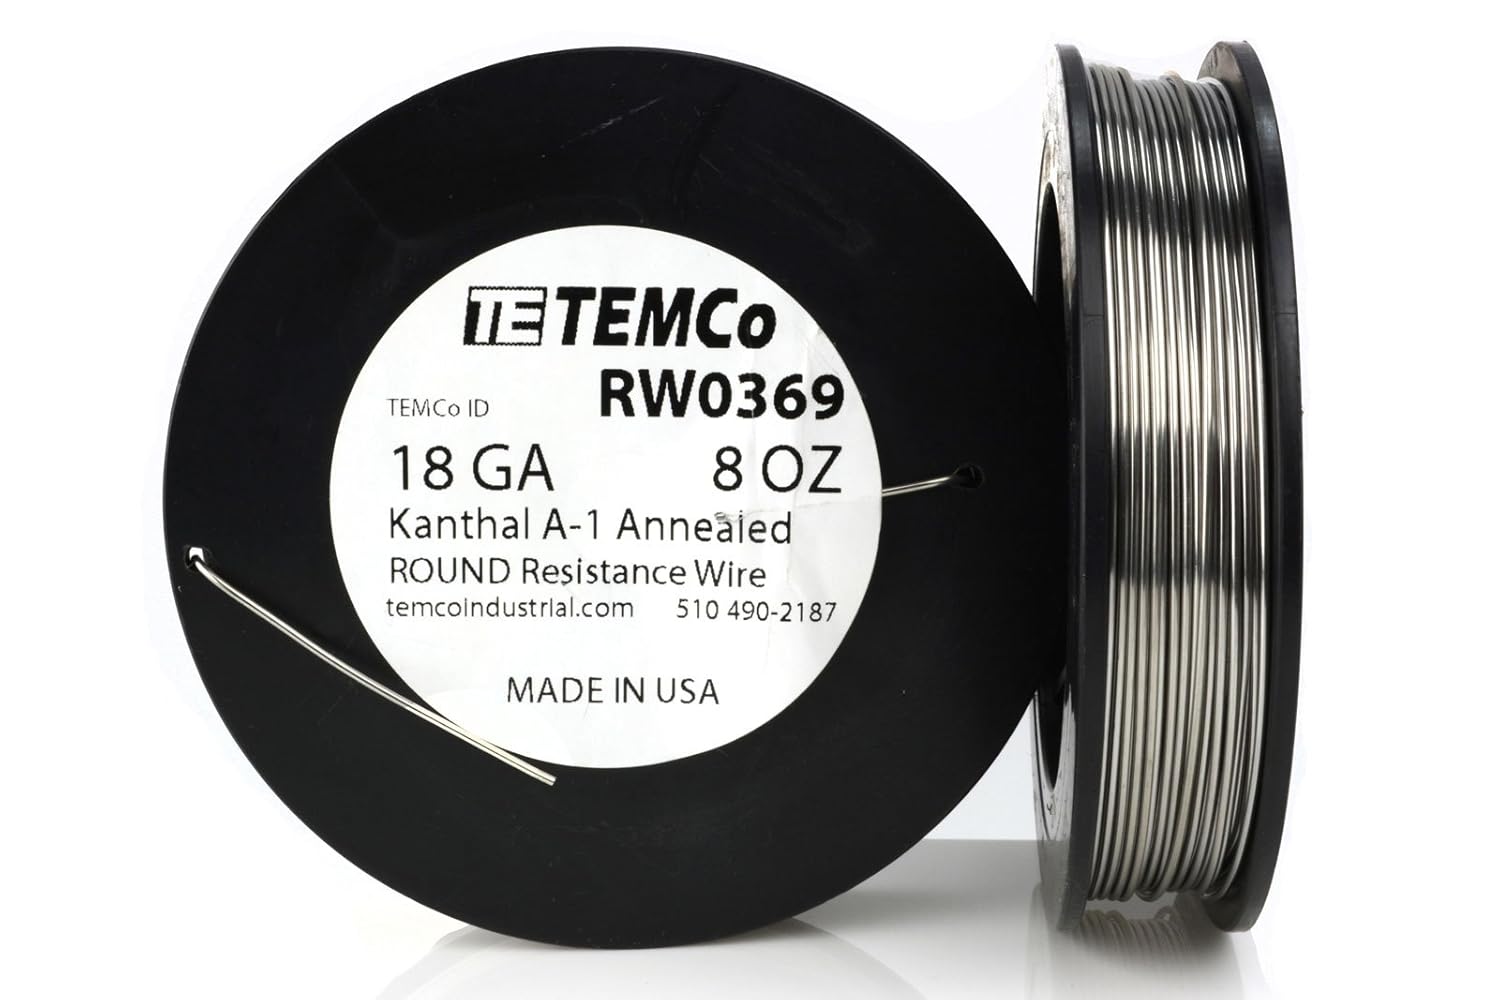
18 Gauge Kanthal A1. Don’t skimp out on this get 18G. 0.515 Ohms/ft. https://www.amazon.com/gp/product/B00LW4ITNS/ref=ppx_yo_dt_b_asin_title_o00_s00?ie=UTF8&psc=1
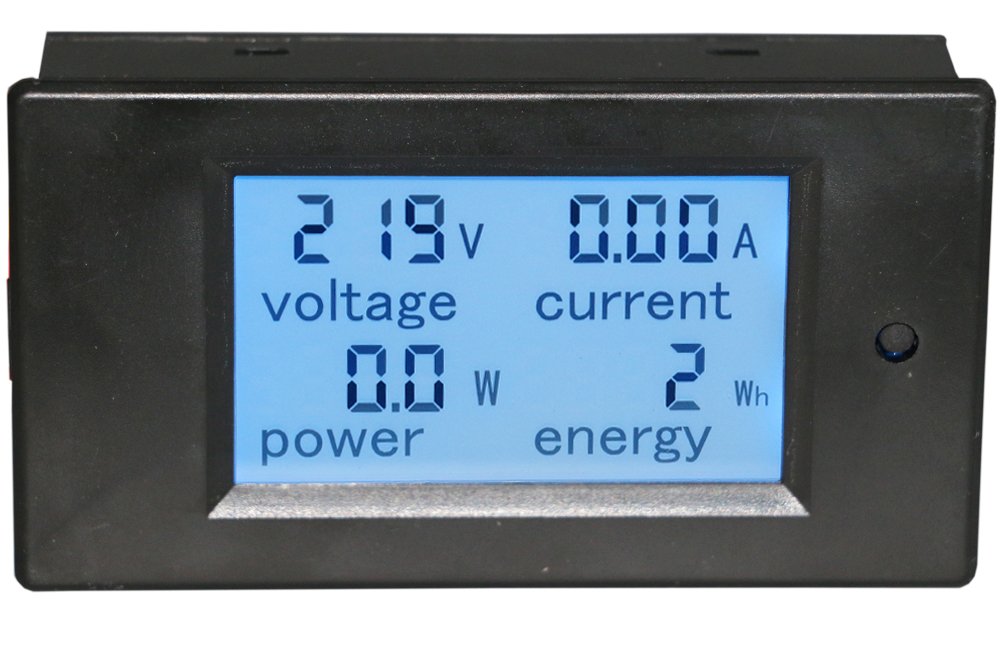
Digital Multimeter 80-260V, 100A rated. https://www.amazon.com/gp/product/B01ET2XRTA/ref=ppx_yo_dt_b_asin_title_o01_s00?ie=UTF8&psc=1
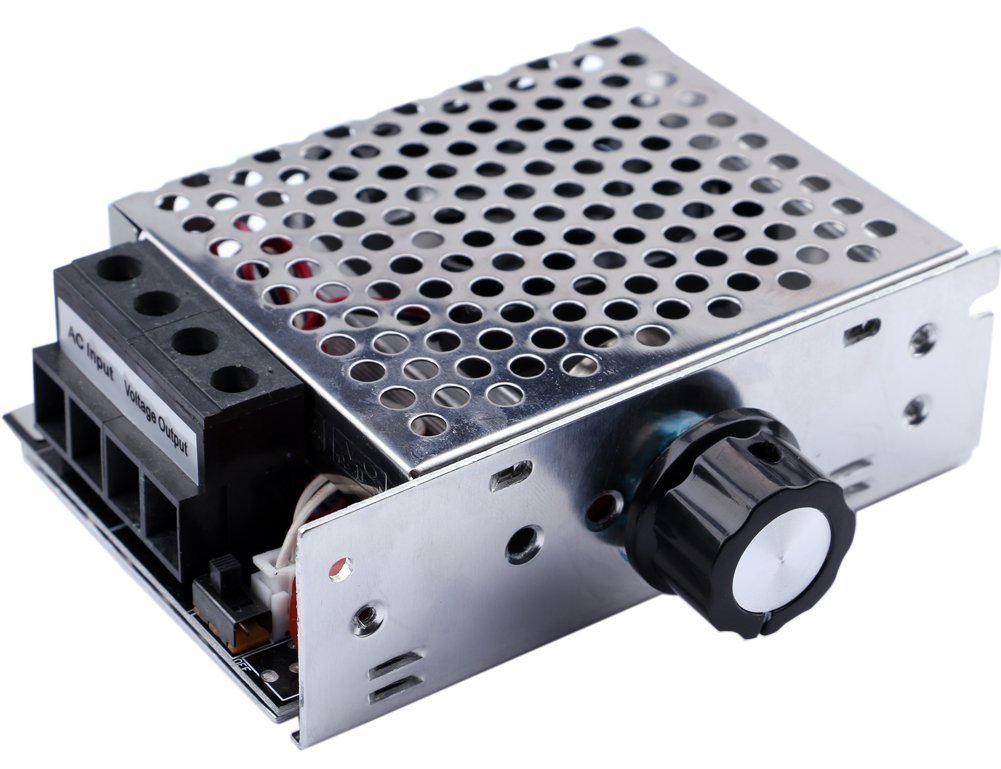
10,000W AC 220V Voltage Regulator – Important for fine tuning coils and getting the most life out of them!!!!!! https://www.amazon.com/gp/product/B01CCK56QS/ref=ppx_yo_dt_b_asin_title_o01_s00?ie=UTF8&psc=1
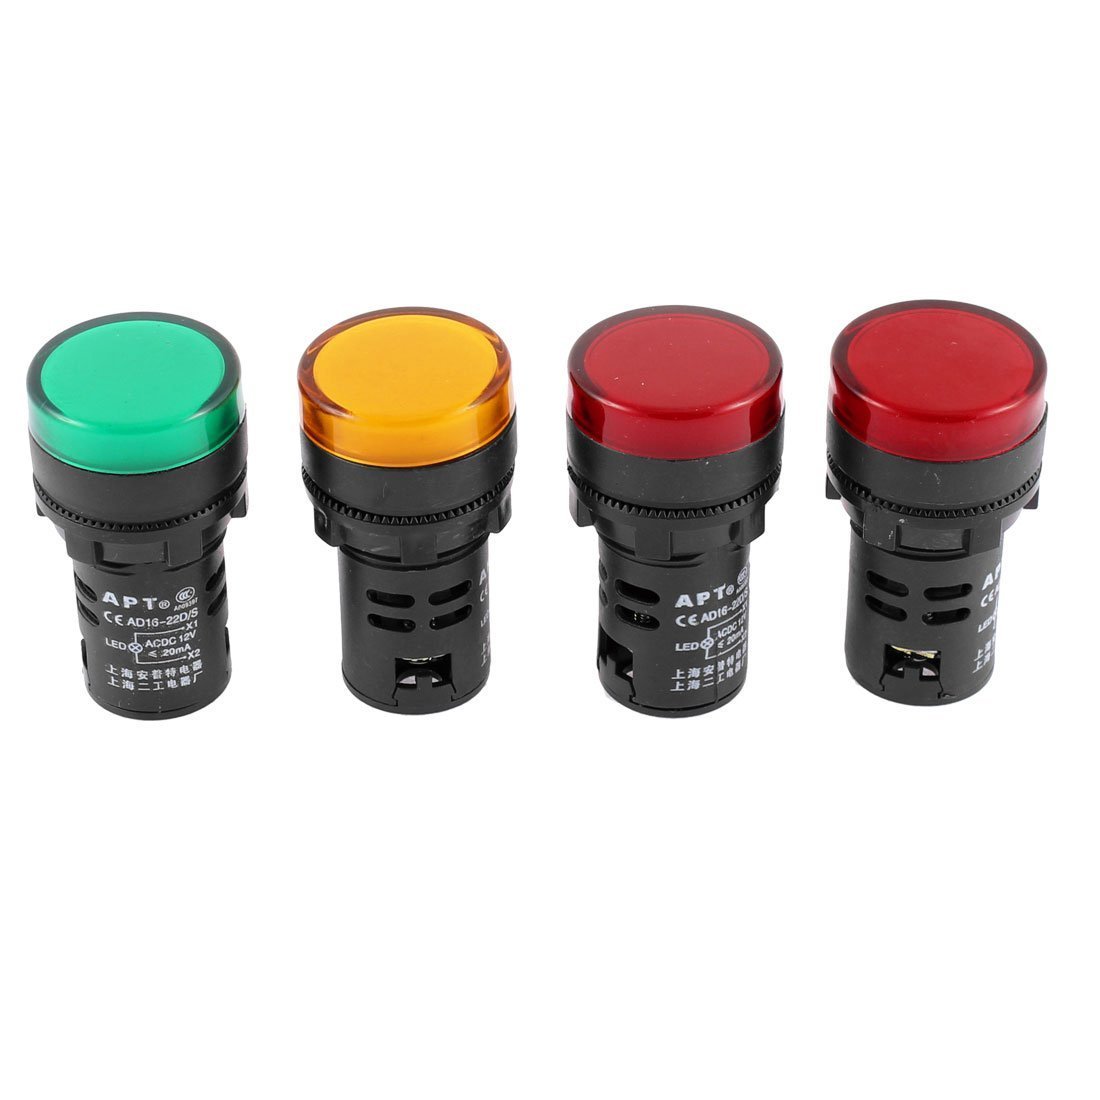
220V High input indicator lights. Use these to monitor the input, output and coil circuit of your solid state relays. (optional but highly recommended) https://www.amazon.com/gp/product/B00G9JQ0UA/ref=ppx_yo_dt_b_asin_title_o01_s00?ie=UTF8&psc=1
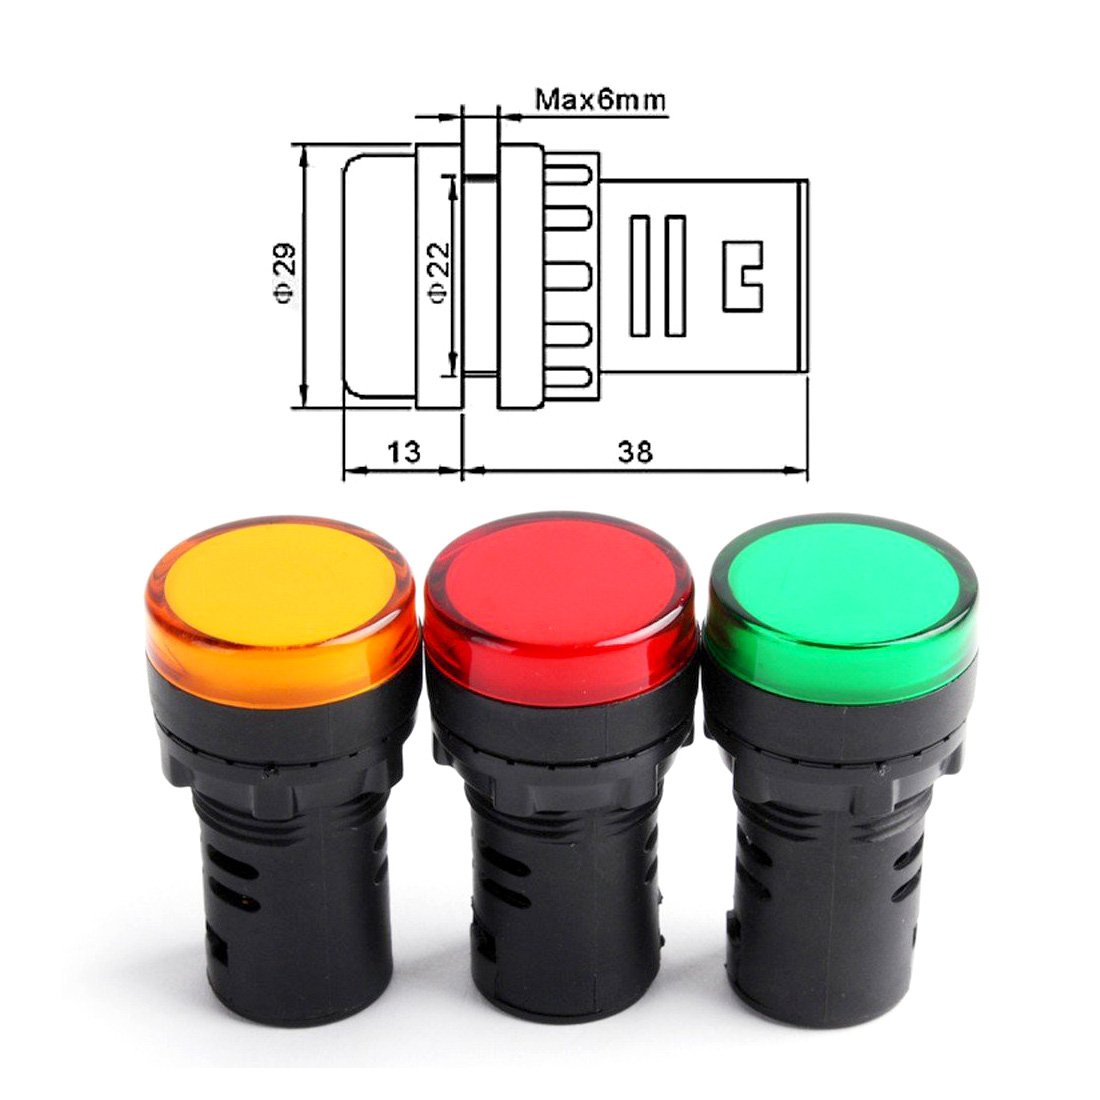
12V Low input indicator lights. Use these to monitor the PID controller output. (optional) https://www.amazon.com/gp/product/B01BNGWB10/ref=ppx_yo_dt_b_asin_title_o00_s00?ie=UTF8&psc=1
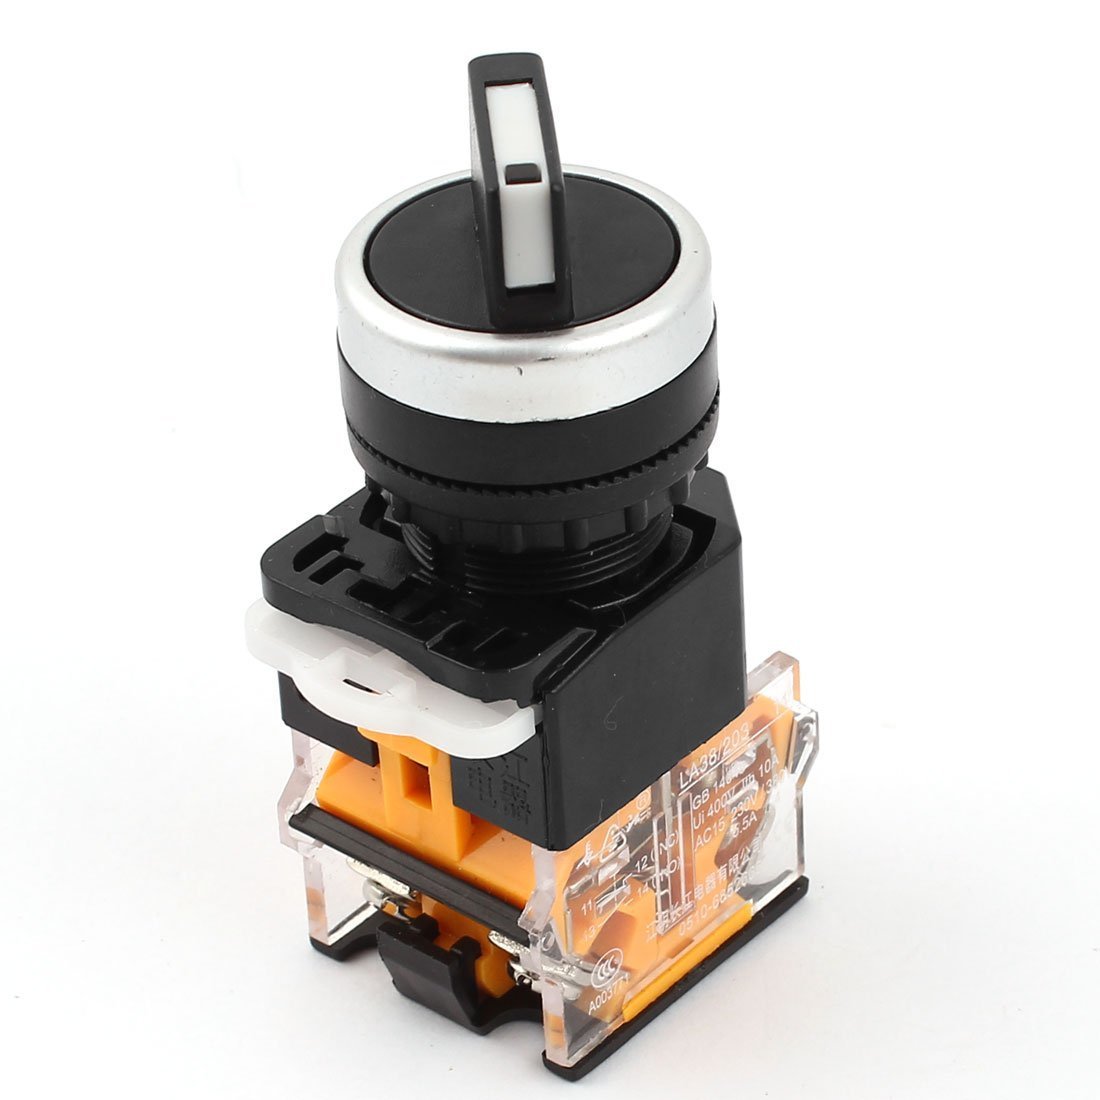
PID output control switch. Use this to immediately halt power to the coils without killing power to your PID controller. Very handy. https://www.amazon.com/gp/product/B00S4Z3SN4/ref=ppx_yo_dt_b_asin_title_o00_s00?ie=UTF8&psc=1
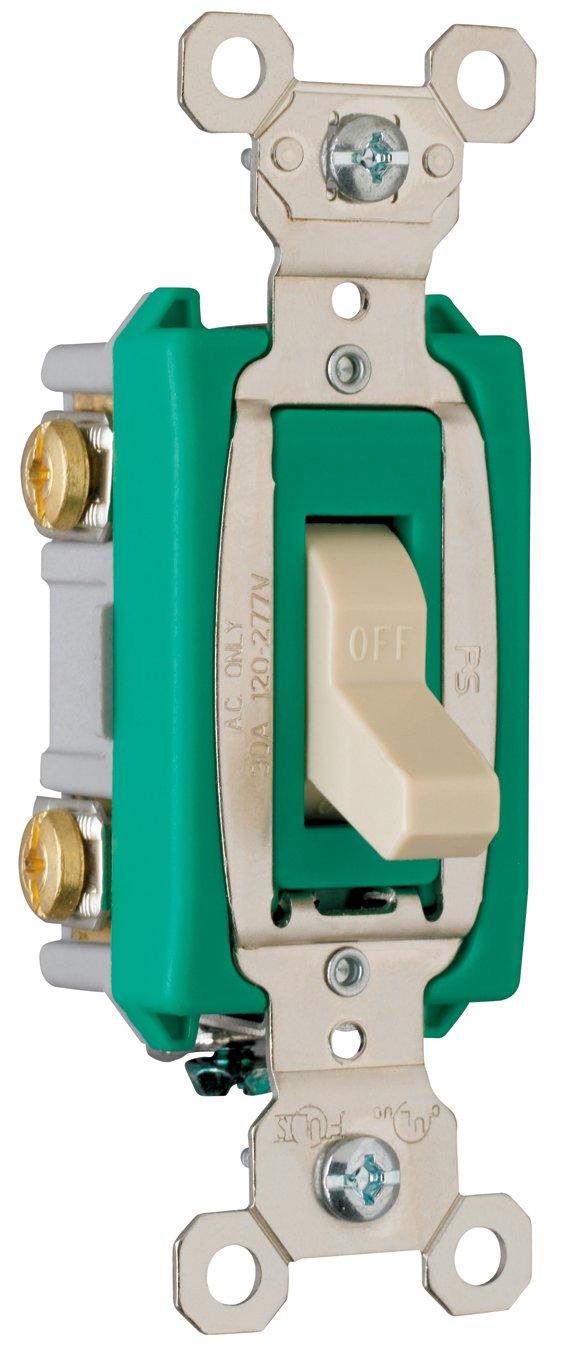
Commercial grade master control switch. Use this to control main input power to the controller box. https://www.amazon.com/gp/product/B000BVZBFM/ref=ppx_yo_dt_b_asin_title_o00_s01?ie=UTF8&psc=1
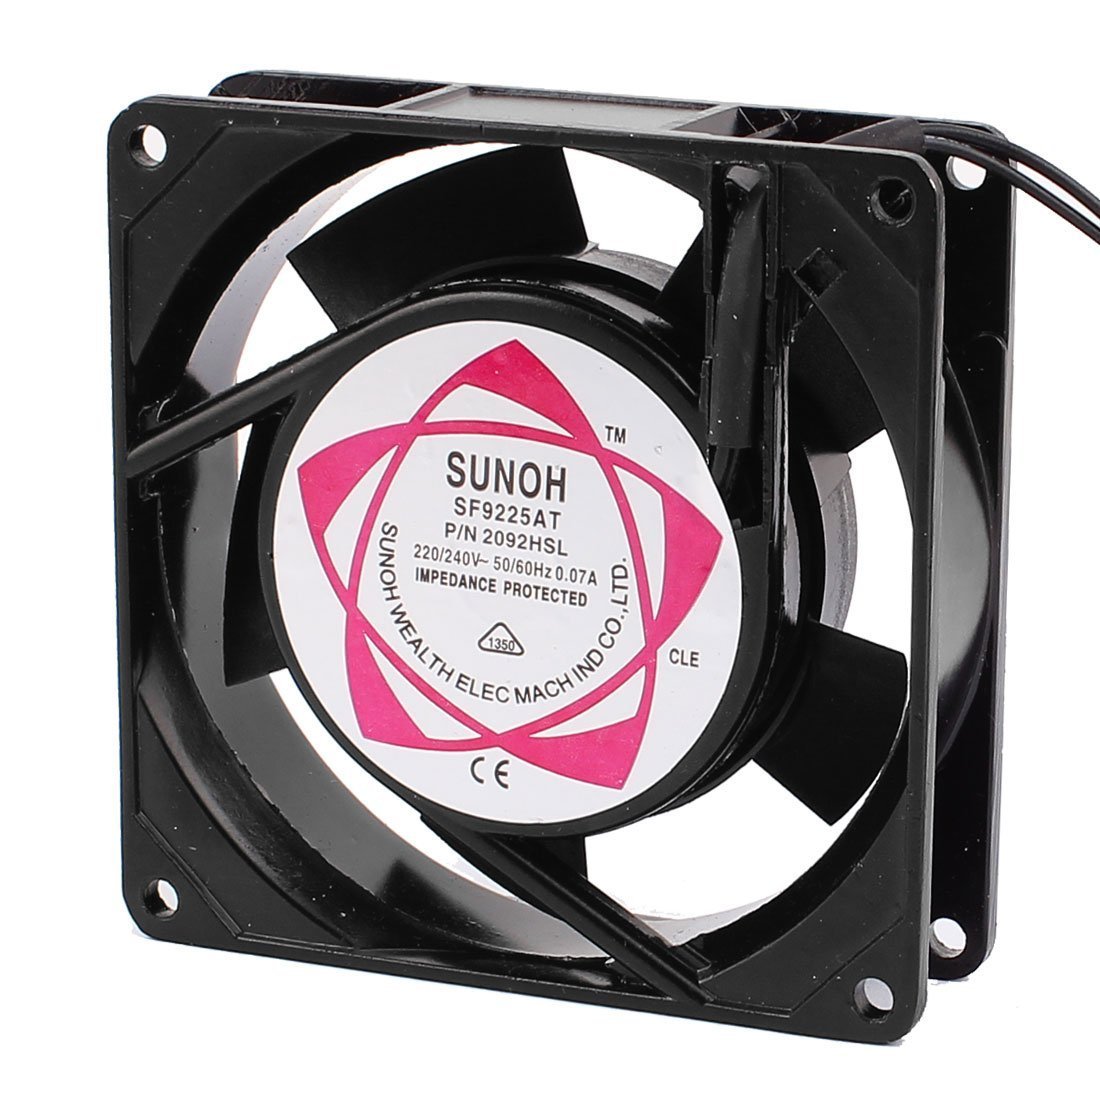
240V Case fan for cooling the control box. Just wire this into the output of the main switch and leave it on whenever you’re powered up. https://www.amazon.com/gp/product/B019W9WU0W/ref=ppx_yo_dt_b_asin_title_o09_s00?ie=UTF8&psc=1
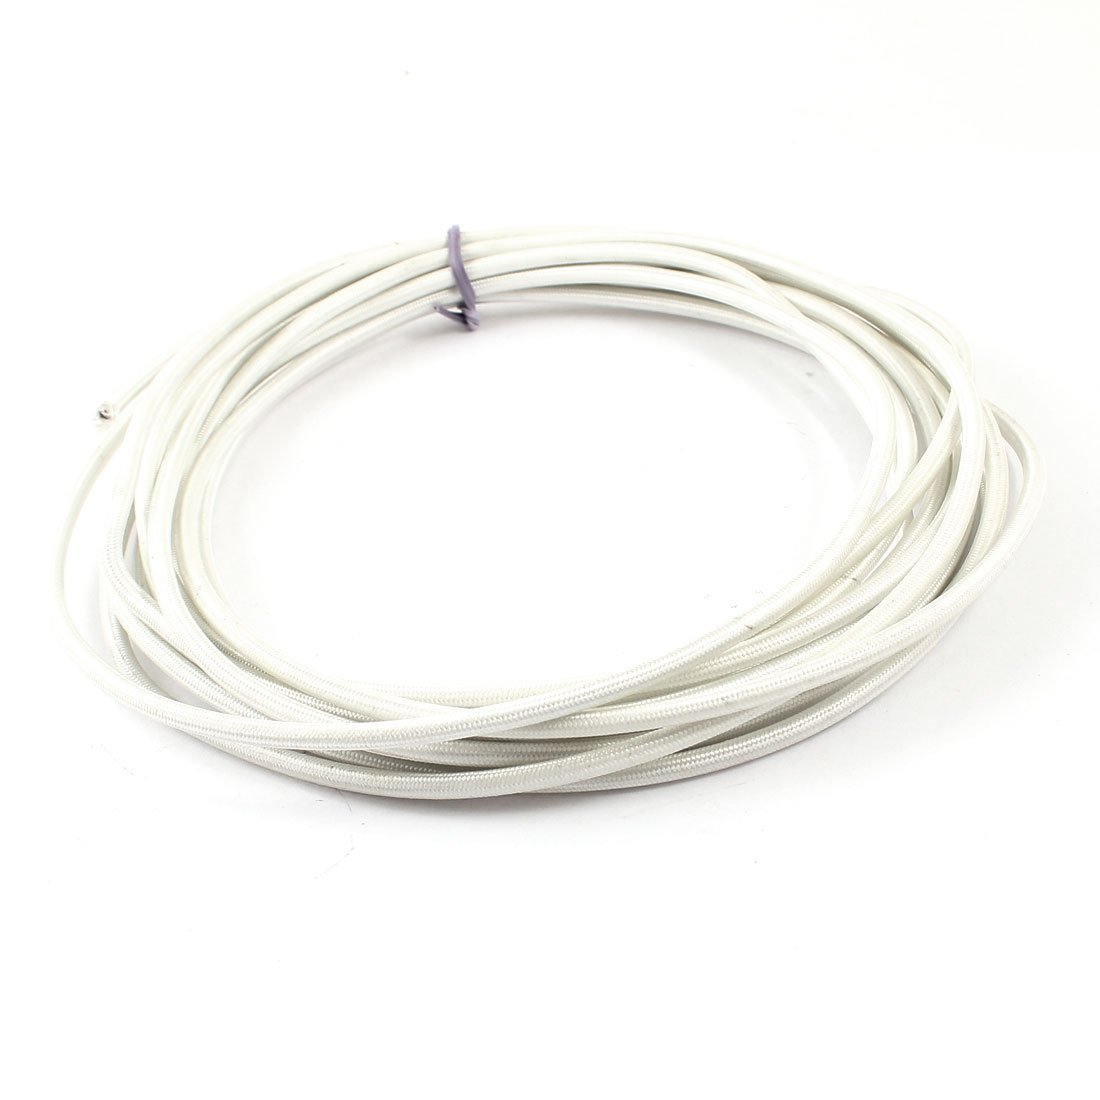
14G high temp fiberglass mesh insulated wire. I used this and it works but it would have been better to go with thicker stuff. 6-10G I recommend. https://www.amazon.com/gp/product/B00PZO6XI4/ref=oh_aui_search_asin_title?ie=UTF8&psc=1
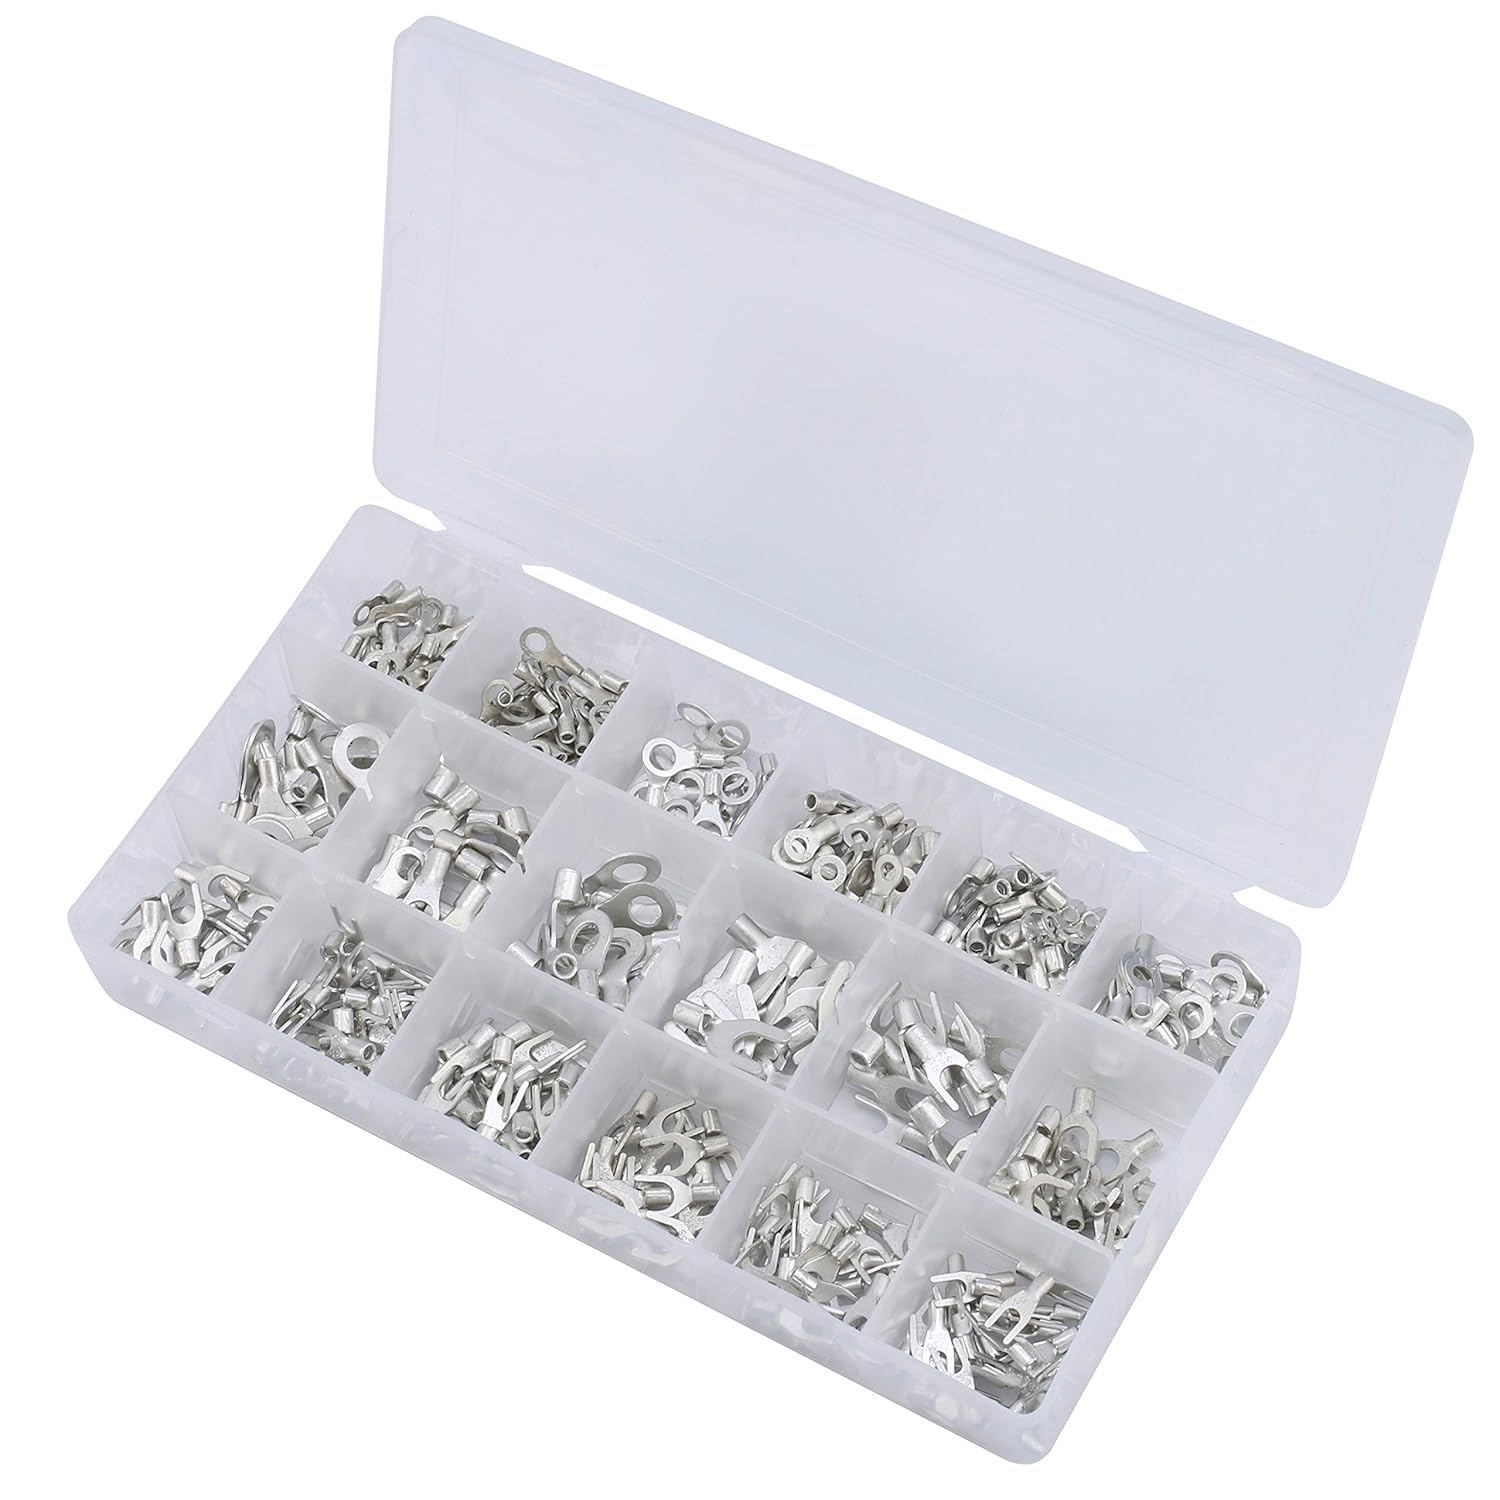
Some wire terminals if you don’t already have them. https://www.amazon.com/gp/product/B01LW2N9LA/ref=oh_aui_search_asin_title?ie=UTF8&psc=1
50 cal ammo can. You can get these all over the place for next to nothing, but in case you can’t you can pay a premium on amazon for one. https://www.amazon.com/Military-Outdoor-Clothing-Previously-50-Caliber/dp/B00C2YELAC/ref=sr_1_6?keywords=ammo+can&qid=1554837598&s=gateway&sr=8-6

Angle iron from the scrap yard, or whatever else you want to use to make the base of the oven.
Furnace cement, you can get this at any hardware store.
Building the Furnace
Lay out your bricks and settle on an appropriate sized furnace for your needs. Use whatever tool you want to carve out the trenches for the coil springs to reside in. Weld up a frame from some angle iron and make sure your bricks fit snugly. There’s no need for a 50 inch long furnace if you just make knives. This one is modular for swords or knives, breaking it down and swapping coils as needed.


Lather up the bottom and side bricks with your furnace cement, make it thin and squish em all in there.

Using a drill and a dowl rod or your wife’s knitting needles or whatever wind up some kanthal A1 18G coils. Use an ohm meter to measure the resistance. Too little and you’ll vaporize your coils, too much and you won’t get enough heat. This is where the 10,000W voltage regulator comes in very handy!!! It’s ok to make them on the hot side, even encouraged. Use the voltage regulator to tone down the input to the solid state relays and even coils that are too short and would normally fry at 240V are usable.
You 110V people I’m going to abandon, good luck if you try this without enough power go hook up a 240V line if you’re serious about making a heat treat furnace! 110 can be done but it sucks and I’ll leave the calculations up to you. It’s basically the same, just half your coil length.
For you 240V ready peoples there’s a very easy way to calculate the exact length of wire you need before winding your coil. You want to set your desired resistance somewhere between 8.0 and 12.0 Ohms. This will differ greatly from other builds you may have found online that don’t use a voltage regulator but trust me this is WAAAY better. This will put you on the hot side of 240. 8.0 Ohms will melt, 12.0 will heat a little slower but is safer if you’re doing things like S90V, S110V, REX121 and other stainless funs requiring near 2200F. Here’s what you want to do.
Get your volt meter and hook the tip of the wire to one of your leads. Pull out approximately 94-100 inches of wire and touch the other volt meter lead to the wire. You’ll want this to be about 4-6 Ohms because you’re going to be making 2 coils and bridging them later. Once you have found your desired Ohms by running that volt meter lead up and down the wire until it reads 5 Ohms (or 4 or 6) cut it there and measure the length. Run out another one of the same length.
Wind them both up on the drill and dowl rod (I use a little brass rods I use in my knife pins) by turning the drill on slowly and just pushing the wire against the rod with your thumb. After a couple tries it becomes exceedingly easy and you can do it in your living room while watching forged in fire.
Measure the length of your carved out coil trenches in your brick and stretch them out to match it.

Use little staple gun staples to hold the coils in place. Hook the two coils together in the back of the bricks with ample overlap so it doesn’t become an overheat bottleneck. Assuming you have already built the control box fire it up at low power (voltage regulator set to like 90 volts) and observe the coils heat and expand. Note places where the coil may be buckling out of the grooves and put staples into them. Make sure you POWER OFF THE CONTROLLER don’t just turn it down or you will get a good zap, remember these are live wires!! Key thing to remember here – the more you have to stretch your coils the more apt they are to buckle. 50″ is a long stretch but can be done. a normal 16″ for knives is easy peasy.
Wire up the coils any way you see fit. I drilled a couple holes out the back fire brick and tried a few things – tried running solid heavy bar through but the wire didn’t like wrapping. I ended up doubling up the wire and pushing it through the holes and hooking it to the high temp insulated electrical wire. Much cleaner ways to do it but sure makes swapping coils a cinch.

I just lay the top brick down loose like without tons of insulation and furnace cement. Sure it’s less efficient but its WAY easier to maintenance. For hobbyist run times this doesn’t matter. If you’re building knives every day you’ll want to fine tune some higher Ohm coils and prolly insulate and make it air tight.
Drill another larger hole in the center of the back of the furnace for your extra long K-type thermo sensor that you’ve hooked up to the PID controller. Install that in there and fire it up for a test burn. Set voltage low, 90V and let it sit for 10 mins. Take not of the voltage and temp. Increase voltage to 120, 140, 160, 180, 200, 220, and if you haven’t hit 2200F yet 240. If you don’t hit at LEAST 2200F at full power you messed up and your coils are too long, remake them and repeat. Don’t sweat the remake you’ll be doing that a lot as you no doubt-ably enjoy the challenge of fine tuning yes? Kanthal is cheap.

Building the Control Box

Basically what you want to do is hook up the main 240V uplink into your master control switch and from there to your 10,000W voltage regulator. From there pipe feeds from the voltage regulator output into your digital multimeter, the PID controller main power input (90-260V operating voltage on the PID controller, nice!), 220V green LED light and one side to each solid state relay’s high side switch. Make sure you don’t hook the 240V feed into the low side or you’ll be buying new relays. Bad, no no!

Hook up the PID controller K-Type thermo sensor.
Hook up the PID controller low voltage output to the solid state relays. You will need to run 4 wires total for this since you’re doubling up the 3v output to the low voltage sides of BOTH solid state relays. This doesn’t matter to the controller, you just need both relays to switch at the same time. The only reason to use two is to decrease heat generation inside the control box.
Hook up the low voltage LED YELLOW light to the same outputs you used for the low side of the solid state relays. The purpose of this is to give you a visual indicator of when the PID controller is trying to tell the solid state relays to fire up. Really helps in any troubleshooting.
Hook up the high voltage 220V red LED light to the OUTPUT of the solid state relays. This will give you a visual indicator of when your coils are receiving power and generating heat. Some LED light’s suck and won’t power on unless it’s at or near 220V so if you’re running low voltage you may have to experiment a bit with lights.
Wire the turn key switch into the middle of your wire between the PID low volt output and the solid state relay low volt input. This will give you the option of temporarily killing power to your coils without stopping the PID controller from trying to regulate the temperature. IE no loosing saved temp points or having to restart the whole thing.
Done correctly your red and yellow lights will blink in unison.
Hook up the digital multimeter’s load sensor to one of the outputs of your solid state relay.
Cut out a chunk of plywood to use as the face, install the fan, make sure everything is tight and no frayed wires are touching the sides (again shock and death if you mess up).
Why does it look like the power coming off your yellow cord (white wire) is tied together with the green and stops right there at the switch? Are there any other pictures you can email me. I would be very grateful.